在 JVM 中使用 JUnit 測試程式碼 – 教學
本教學將示範如何在 Kotlin/JVM 專案中編寫一個簡單的單元測試,並使用 Gradle 建置工具來執行它。
在這個專案中,您將使用 kotlin.test 函式庫,並使用 JUnit 執行測試。
如果您正在開發一個多平台應用程式,請參閱 Kotlin Multiplatform 教學。
首先,下載並安裝最新版本的 IntelliJ IDEA 以開始。
新增依賴項 (dependencies)
-
在 IntelliJ IDEA 中開啟一個 Kotlin 專案。如果您沒有專案, 建立一個。
-
開啟
build.gradle(.kts)檔案,並檢查是否存在testImplementation依賴項。 這個依賴項讓您可以使用kotlin.test和JUnit:- Kotlin
- Groovy
dependencies {
    // Other dependencies.
    testImplementation(kotlin("test"))
}
dependencies {
// Other dependencies.
testImplementation 'org.jetbrains.kotlin:kotlin-test'
} -
將
test任務 (task) 新增到build.gradle(.kts)檔案中:- Kotlin
- Groovy
tasks.test {
    useJUnitPlatform()
}
test {
useJUnitPlatform()
}如果您在建置腳本中使用
useJUnitPlatform()函數 (function), 則kotlin-test函式庫會自動包含 JUnit 5 作為依賴項。 這種設定可以在純 JVM 專案和 Kotlin Multiplatform (KMP) 專案的 JVM 測試中, 存取所有 JUnit 5 API,以及kotlin-testAPI。
以下是 build.gradle.kts 的完整程式碼:
plugins {
    kotlin("jvm") version "2.1.20"
}

group = "org.example"
version = "1.0-SNAPSHOT"

repositories {
    mavenCentral()
}

dependencies {
    testImplementation(kotlin("test"))
}

tasks.test {
    useJUnitPlatform()
}
新增要測試的程式碼
-
在
src/main/kotlin中開啟Main.kt檔案。src目錄包含 Kotlin 原始碼檔案和資源。Main.kt檔案包含範例程式碼,用於印出Hello, World!。 -
建立包含
sum()函數的Sample類別 (class),該函數將兩個整數相加:class Sample() {
fun sum(a: Int, b: Int): Int {
return a + b
}
}
建立測試
-
在 IntelliJ IDEA 中,針對
Sample類別選擇 Code | Generate | Test...: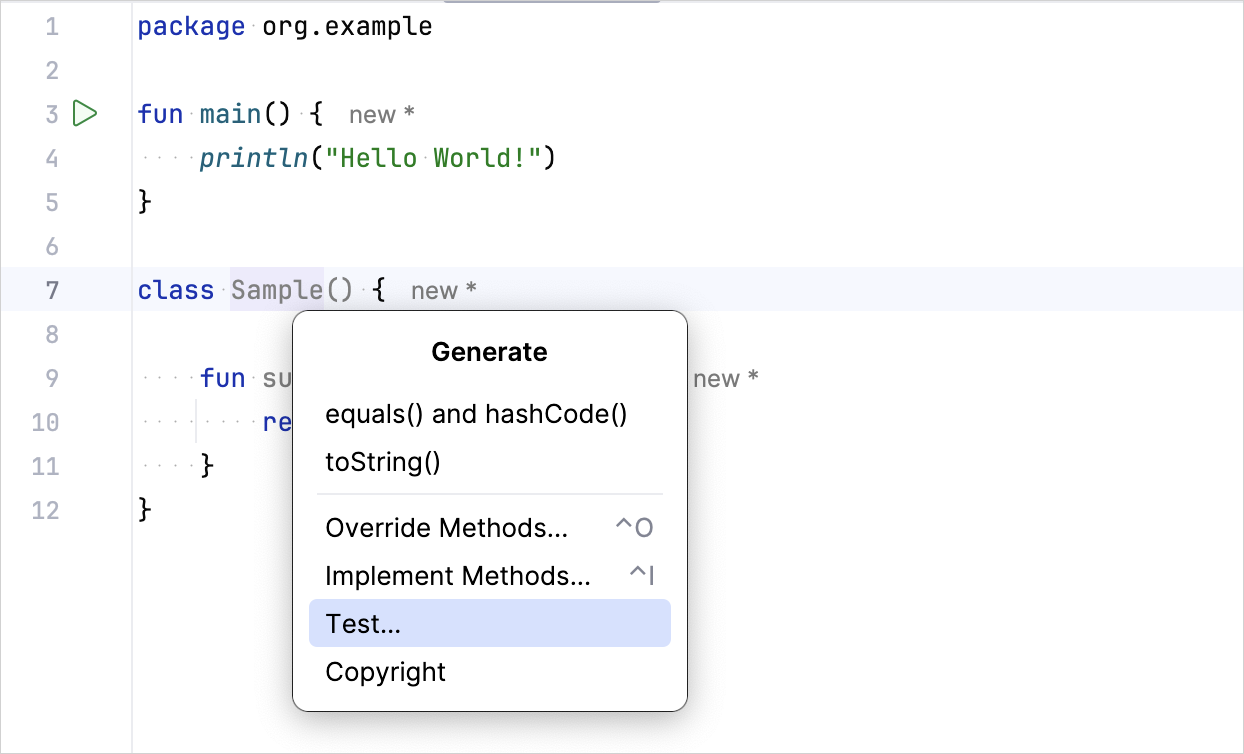
-
指定測試類別的名稱。 例如,
SampleTest: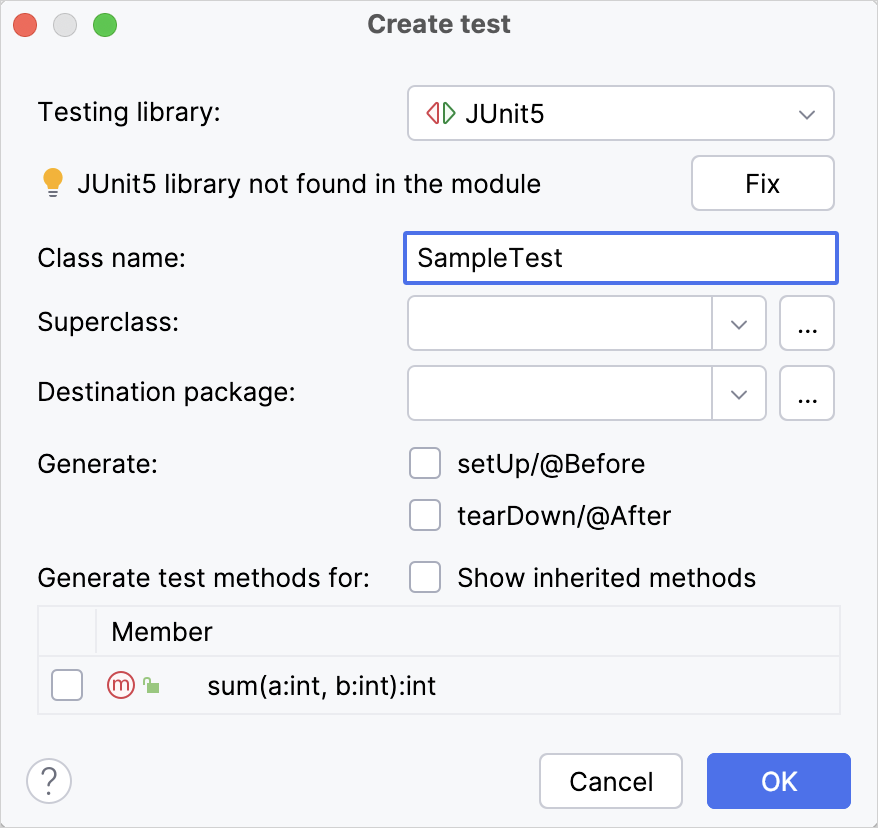
IntelliJ IDEA 會在
test目錄中建立SampleTest.kt檔案。 此目錄包含 Kotlin 測試原始碼檔案和資源。您也可以在
src/test/kotlin中手動建立用於測試的*.kt檔案。 -
在
SampleTest.kt中新增sum()函數的測試程式碼:- 使用
@Test注釋 定義測試testSum()函數。 - 透過使用
assertEquals()函數,檢查sum()函數是否傳回預期的值。
import org.example.Sample
import org.junit.jupiter.api.Assertions.*
import kotlin.test.Test

class SampleTest {

    private val testSample: Sample = Sample()

    @Test
    fun testSum() {
        val expected = 42
        assertEquals(expected, testSample.sum(40, 2))
    }
} - 使用
執行測試
-
使用邊溝圖示 (gutter icon) 執行測試:
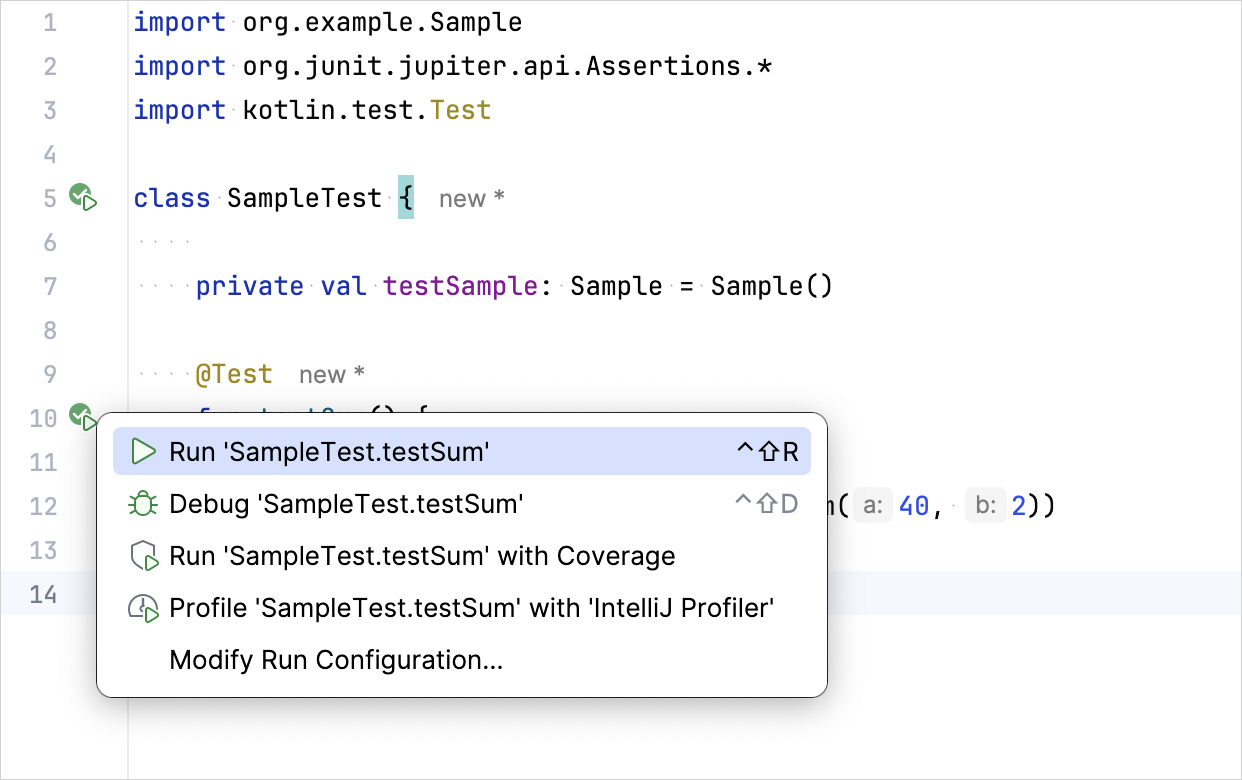
您也可以使用
./gradlew check命令,透過命令列介面執行所有專案測試。 -
在 Run 工具視窗中檢查結果:
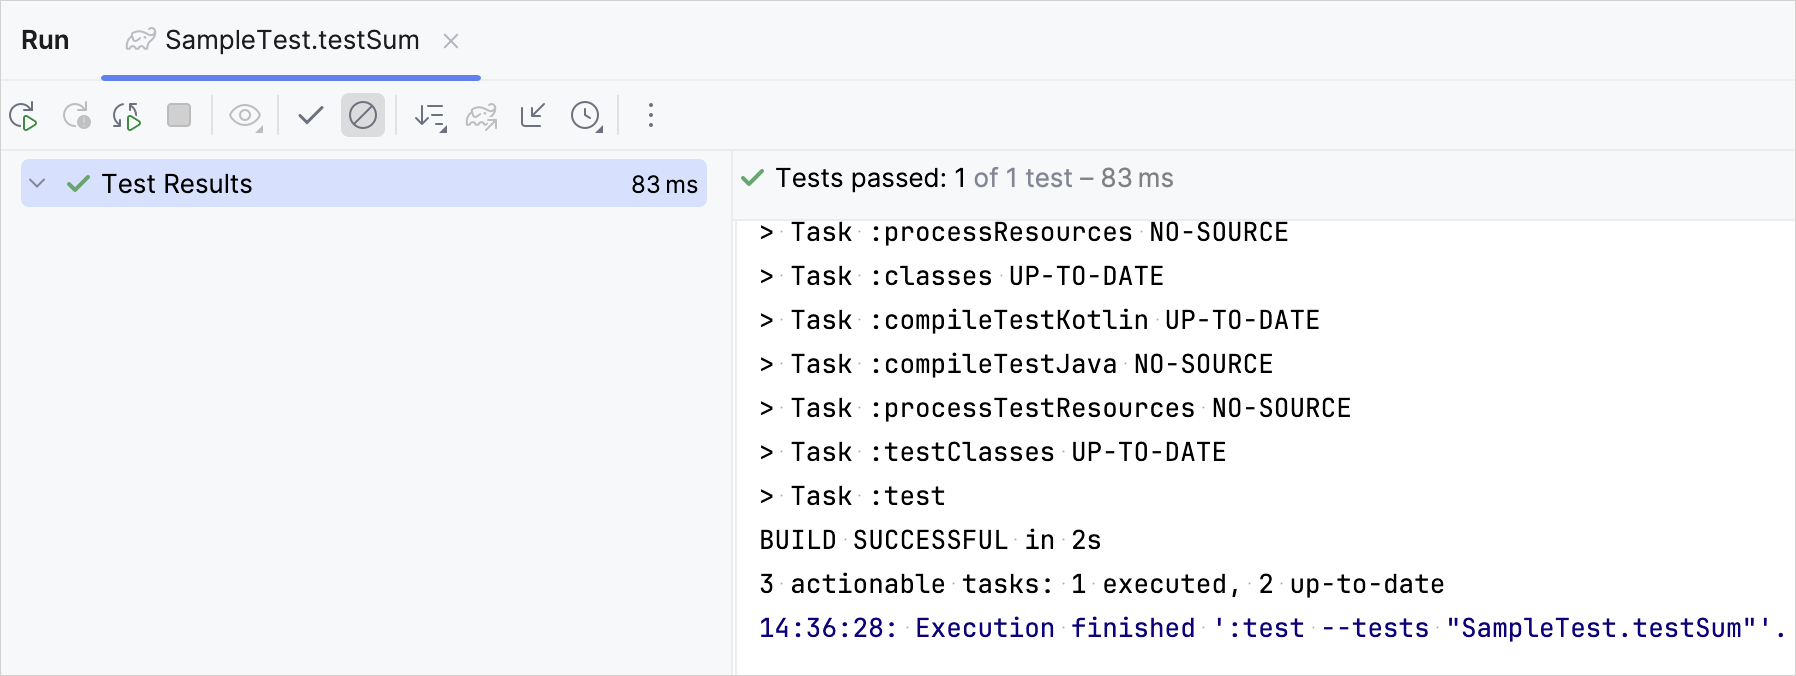
測試函數已成功執行。
-
透過將
expected變數值變更為 43,確保測試可以正常運作:@Test
fun testSum() {
val expected = 43
assertEquals(expected, classForTesting.sum(40, 2))
} -
再次執行測試並檢查結果:
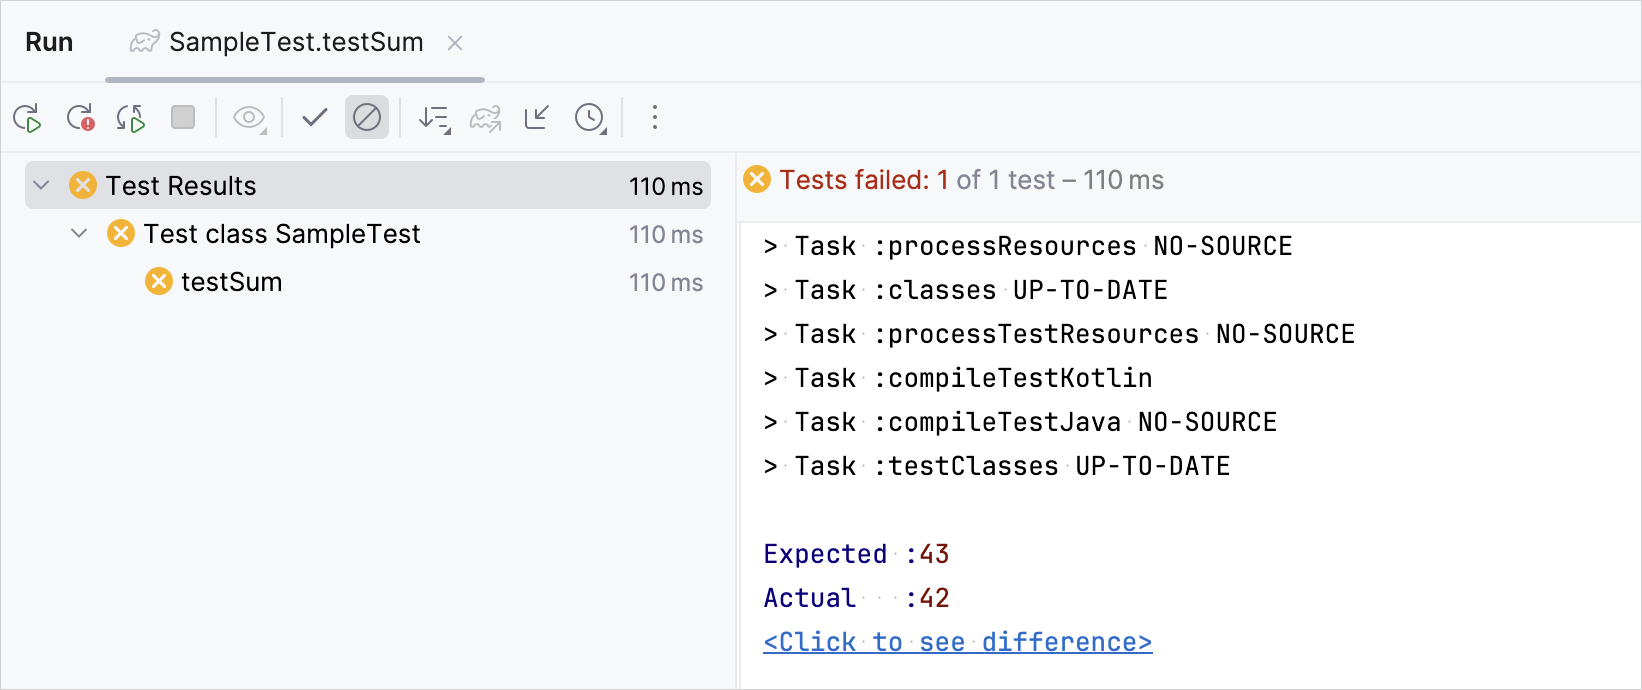
測試執行失敗。
後續步驟
完成第一個測試後,您可以:
- 使用其他
kotlin.test函數編寫更多測試。 例如,使用assertNotEquals()函數。 - 使用 Kotlin Power-assert 編譯器外掛程式 改善測試輸出。 此外掛程式會使用關聯式資訊豐富測試輸出。
- 使用 Kotlin 和 Spring Boot 建立您的第一個伺服器端應用程式。